Presenting Sol and Mi (Part 2)
In the first part of this post, we looked at some ways to prepare sol and mi through movement, games, improvisation, composition, and completing melodies.
If you haven’t checked it out yet, read it here!
The next step in teaching sol and mi is to present these melodic elements with their new names. In order to complete this phase, students need to have a lot of experience using high and low, and be able to hear and dictate high and low on their own.
Let's jump in!

The presentation phase has three main parts:
Assess: We need to be sure students are ready to practice sol and mi, so we need some sort of assessment.
Present: We give the new vocabulary of sol and mi.
Apply: We apply our new knowledge just a bit to reinforce the connection between their preparation and practice.
1. The Presentation Test:
Before moving on from the preparation to the practice phase, it’s good to be sure you know when students are ready to move on. That’s where a presentation test comes in.
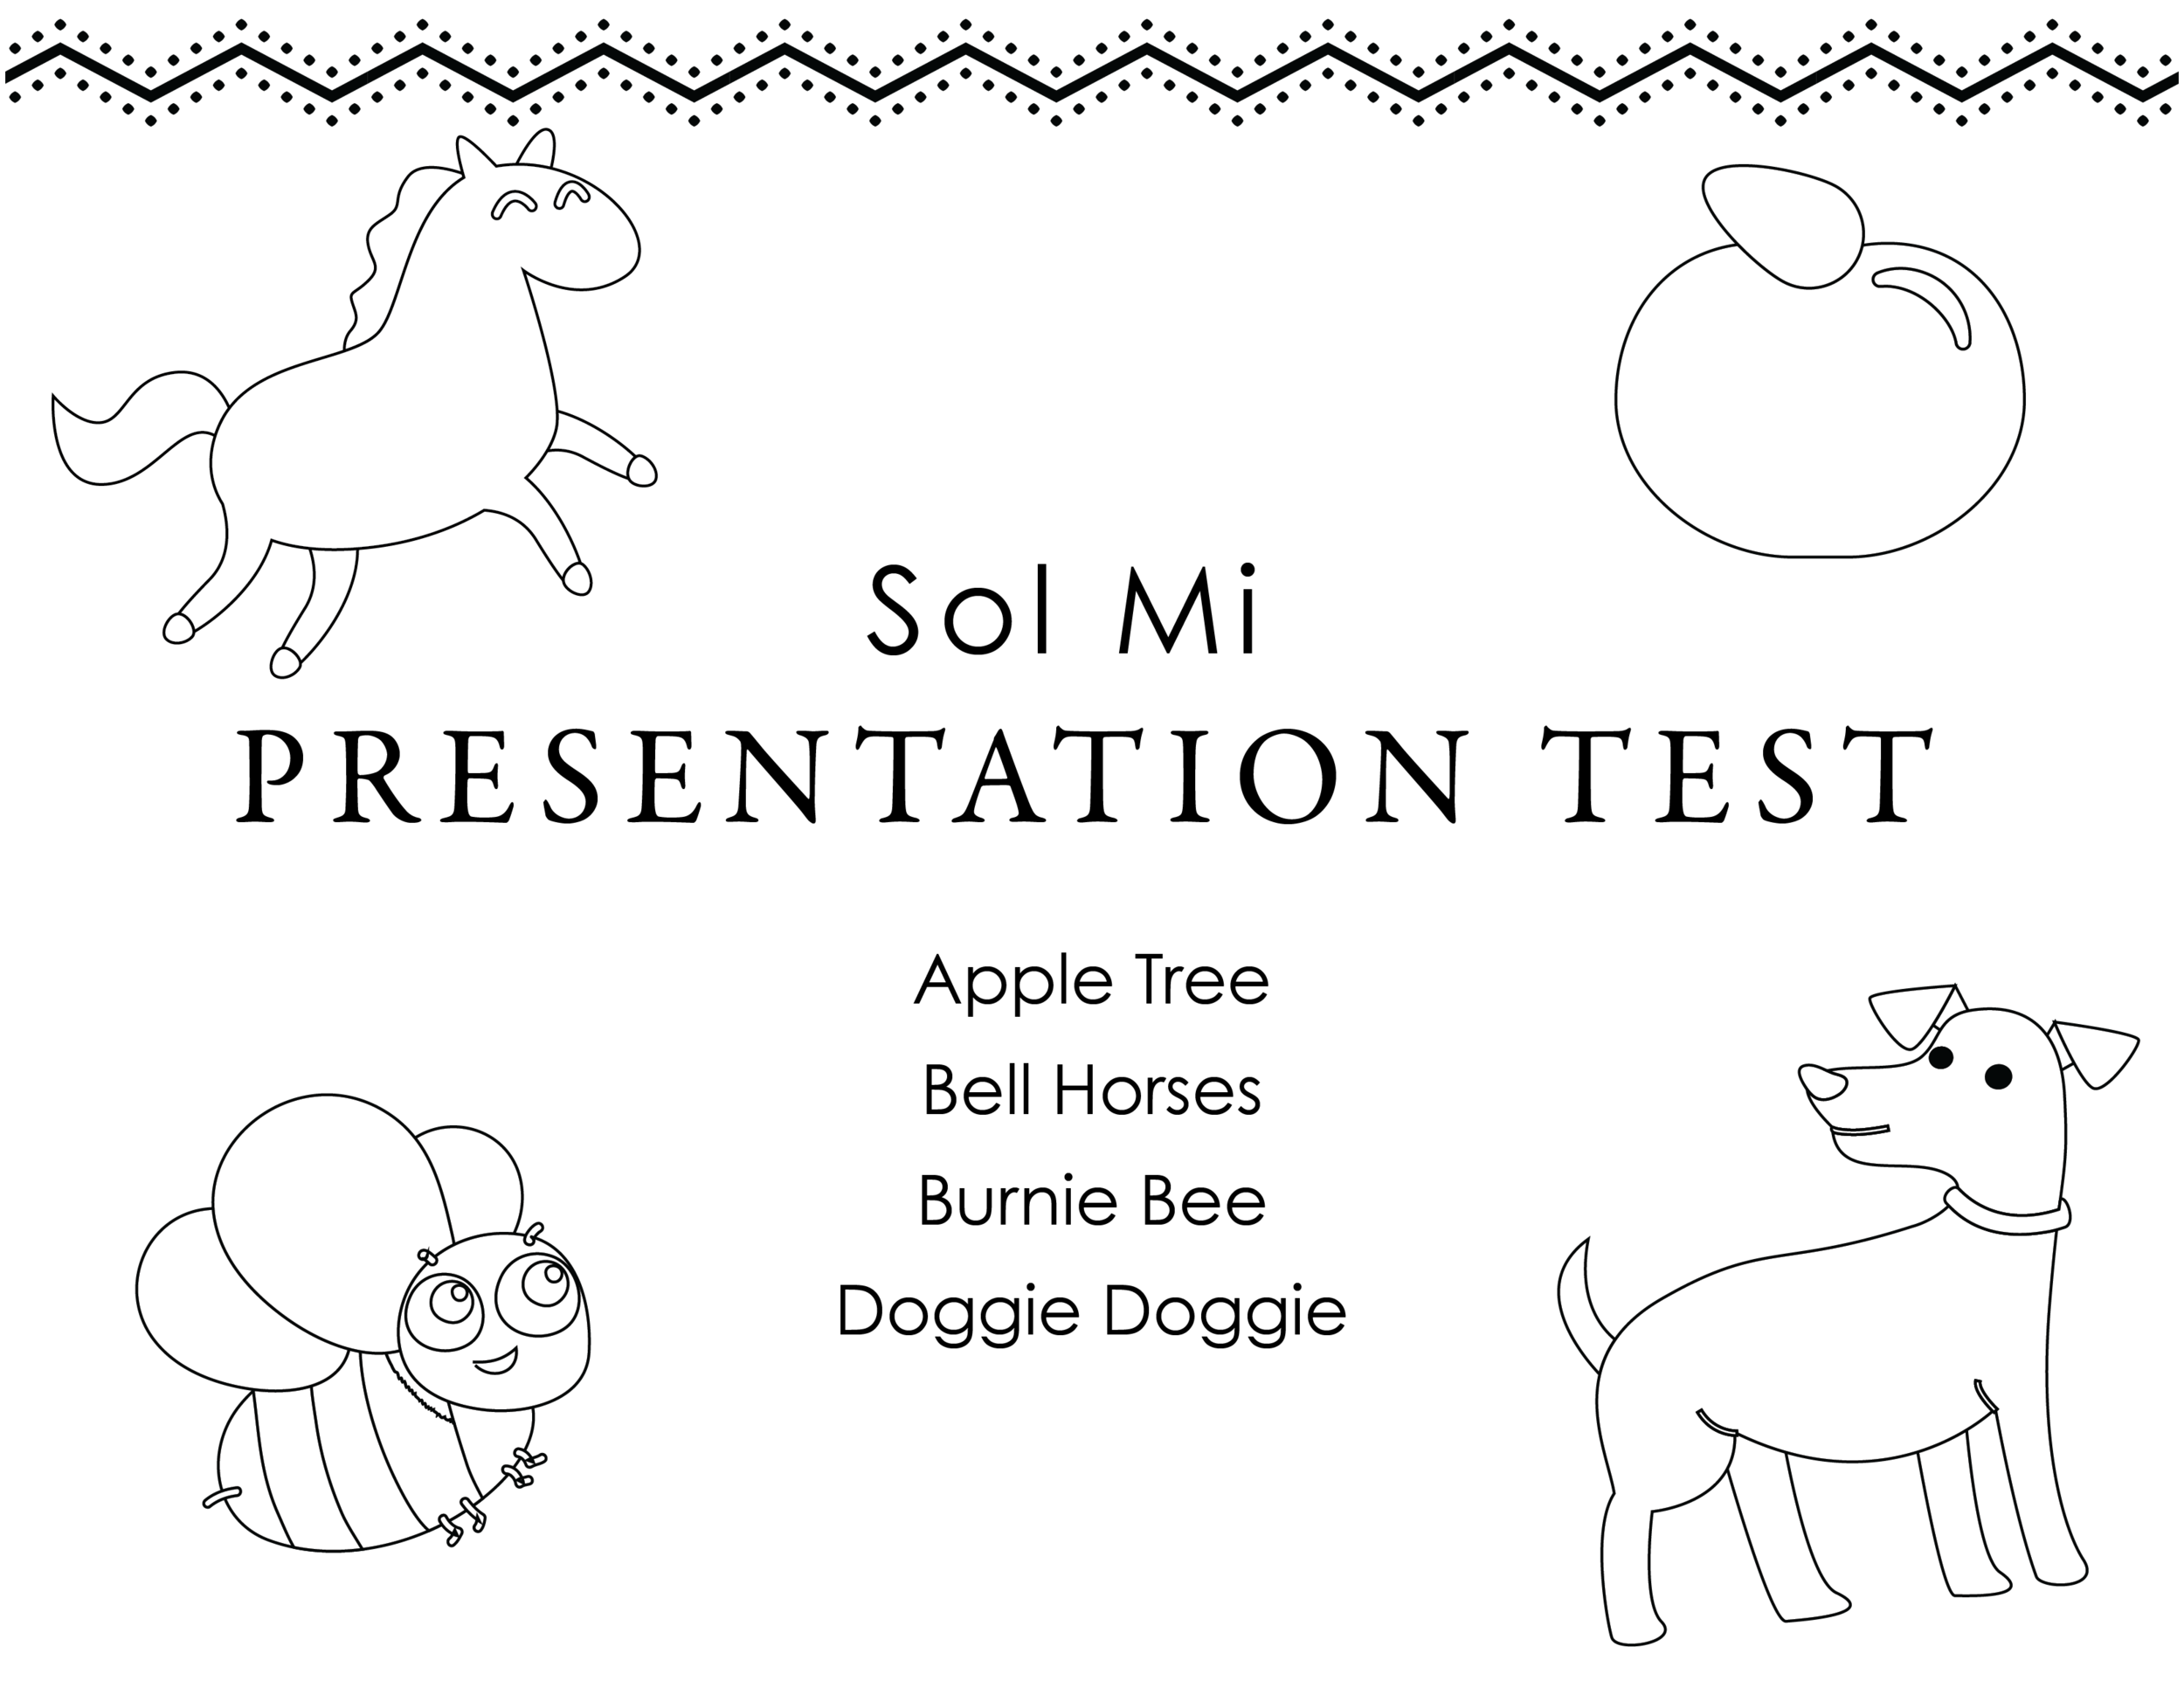


Using one of the songs from my favorite sol mi songs, The Case of the Missing Notes from my favorite ways to prepare sol and mi, and the printables here, we're ready for a presentation test!
In The Case of the Missing Notes, the teacher notates a portion of the song, but leaves some notes out. Students are tasked with filling in the missing pitches.
Student responses from this activity will tell you if your class is ready to move on to practicing sol and mi. If students aren't ready, congratulate yourself on another great preparation activity and try again in a few classes!
Happy printing!
2. Presenting Sol and Mi:
Once you know you’re ready to present sol and mi, use this sequence:
Sing a song you know very well and have been using to practice sol and mi (like Apple Tree).
Ask students to sing Apple Tree (the first four beats) with hand signs showing high and low.
Read Apple Tree from the board, but sing "high low high high low" instead of text.
Say, "High and low have different names they can go by, and new names we’ll use in this class. The high note’s new name is “Sol” and the low note’s new name is “Mi”
Now that students know the new names of high and low, it’s time to practice.
The practice phase for sol and mi will cover the next several lessons, but I like to start practicing in the presentation lesson so students have a chance to solidify what they've learned.
3. Practice by Reading a Known Song
Simple, quick, and very important for students, reading a known song from notation is a great way to practice sol and mi. Choose a song - or a portion of the song - and write it on the board. Here are the steps I like to follow:
Ask students to sing the song on text while you point to the notation.
Ask students to sing the song on solfege while you point to the notation.
Ask a few students come up to the board to point while the rest of the class sings solfege.
With a solid presentation plan, your students have the information they need to soar in their practice activities!