How to Teach Rhythm vs. Beat (Part 2)
In this post we explored rhythm and beat through physical, aural, and visual pathways.
In good music education, students have multiple opportunities to explore musical concepts through differentiated activities. This post looks at more ways to practice rhythm and beat so students are set up for success.
These ideas are based off the teaching strategies in The Planning Binder. You can also find a complete guide rhythm vs beat in this concept plan.

Before we begin:
Previous knowledge:
Students will be set up well to explore these ideas if they have conceptual knowledge of steady beat and rhythm.
You can read more about how to teach steady beat in this post. Click here for a full concept plan on steady beat.
Repertoire:
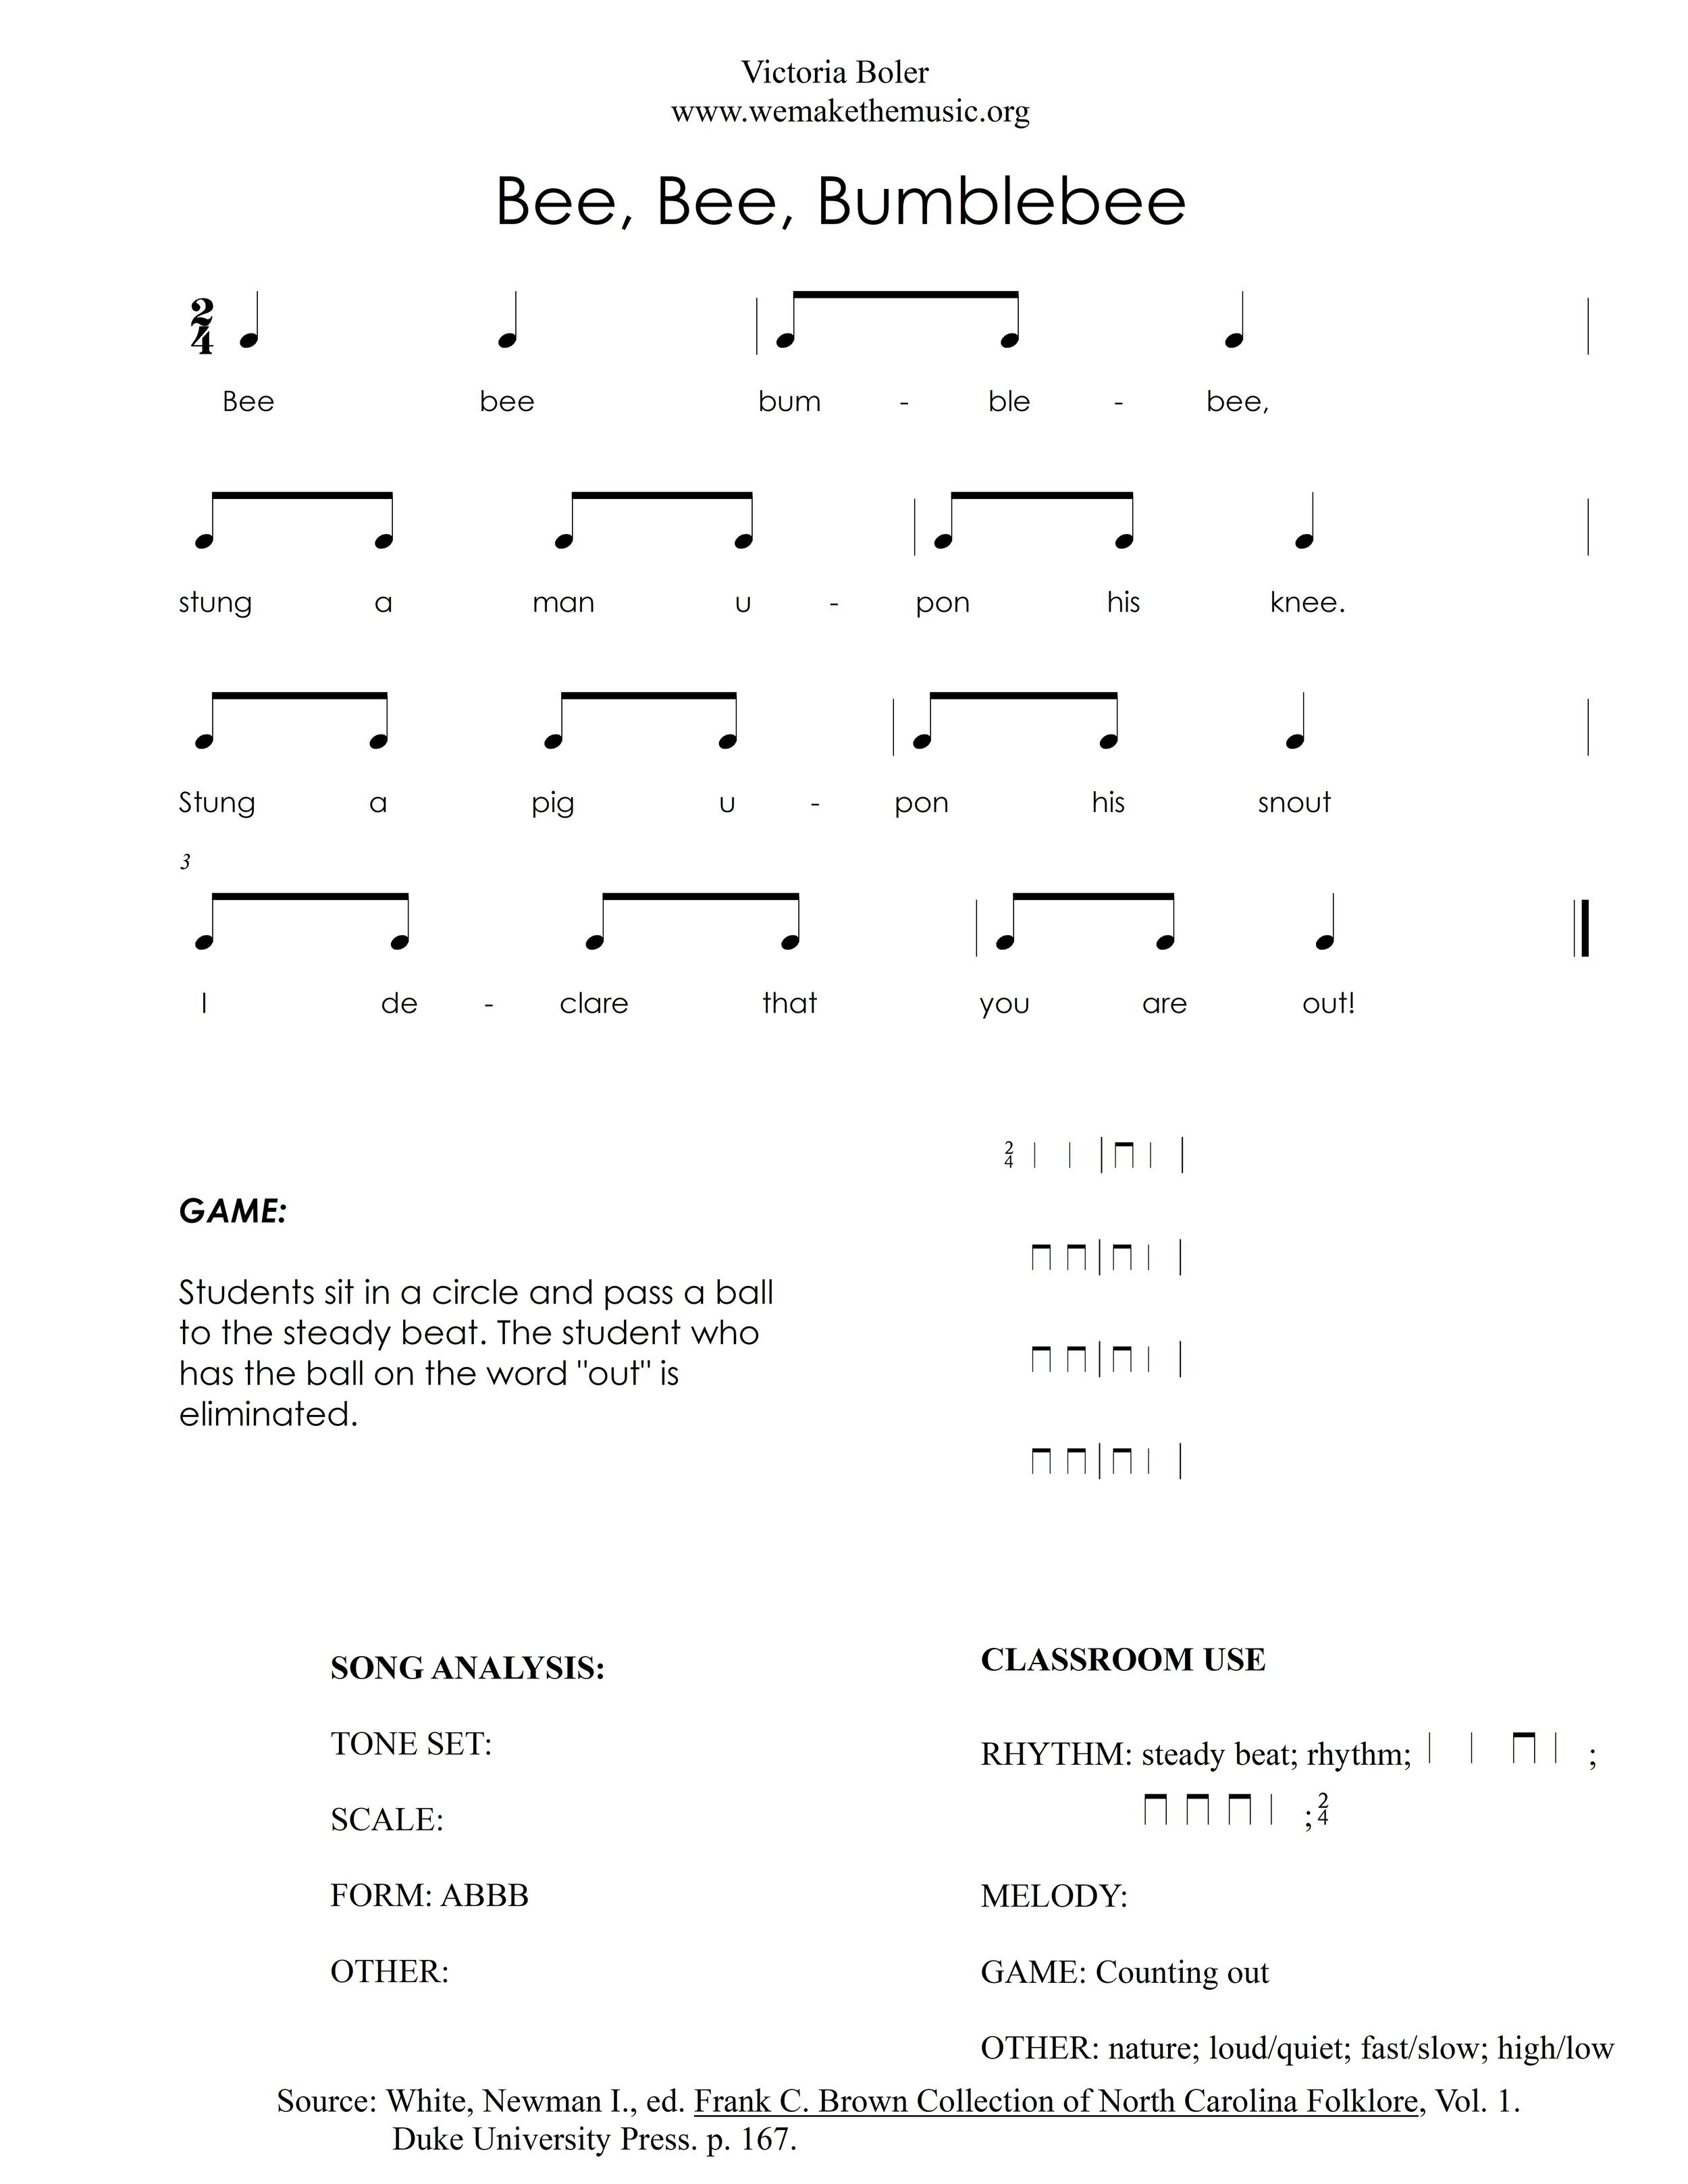
This collection of ideas focuses around the rhyme, Bee Bee Bumblebee.
You can read about how to use it in initial learning experiences for rhythm vs beat here.
Next Step: What do you hear?
The next step in learning is to ask some carefully worded questions so students are encouraged to tune into the concept of rhythm vs beat.
This happens how musical learning should always happen - in a fun, play-based, musical way!
Step 1: Review the Game (Kinesthetic Experience)
The modified game from this post is perfect for working with rhythm vs beat!
Students sit in a circle and speak the rhyme while they pass the ball to the steady beat. Whoever has the ball on the word, “out” will choose if students will catch the words of the rhyme (clap the rhythm) or pat the steady beat in the next round of the game.
This is a physical experience with rhythm vs beat that is imperative for success in future learning experiences.
Step 2: Aurally Identify
The next step can serve as a great assessment tool!
The teacher either claps the rhythm of the words, or pats the steady beat to Bee Bee Bumblebee. Students aurally identify which one they heard.
I like to have students show their answer in sign language. This is an incredibly simple way to get a lot of assessment data without any prep.
Students will hold up an r in sign language if they heard the rhythm, or a b in sign language if they heard the beat.
You can repeat this idea a few times. Then, you can have individual students perform the rhythm or the beat for the rest of the class. In total, this whole activity will last about three minutes.
Step 3: Describe What You Hear
The next step is where students truly begin to articulate the exact differences between rhythm and steady beat.
After playing the game, students pat the first four beats of the rhyme.

Next, students aurally identify how many sounds they heard on each beat.
Starting at the last beat and working towards the first, students hold up either one or two fingers to show how many sounds they heard. The final answer will look something like this.

Tracking Printables for Rhythm vs beat
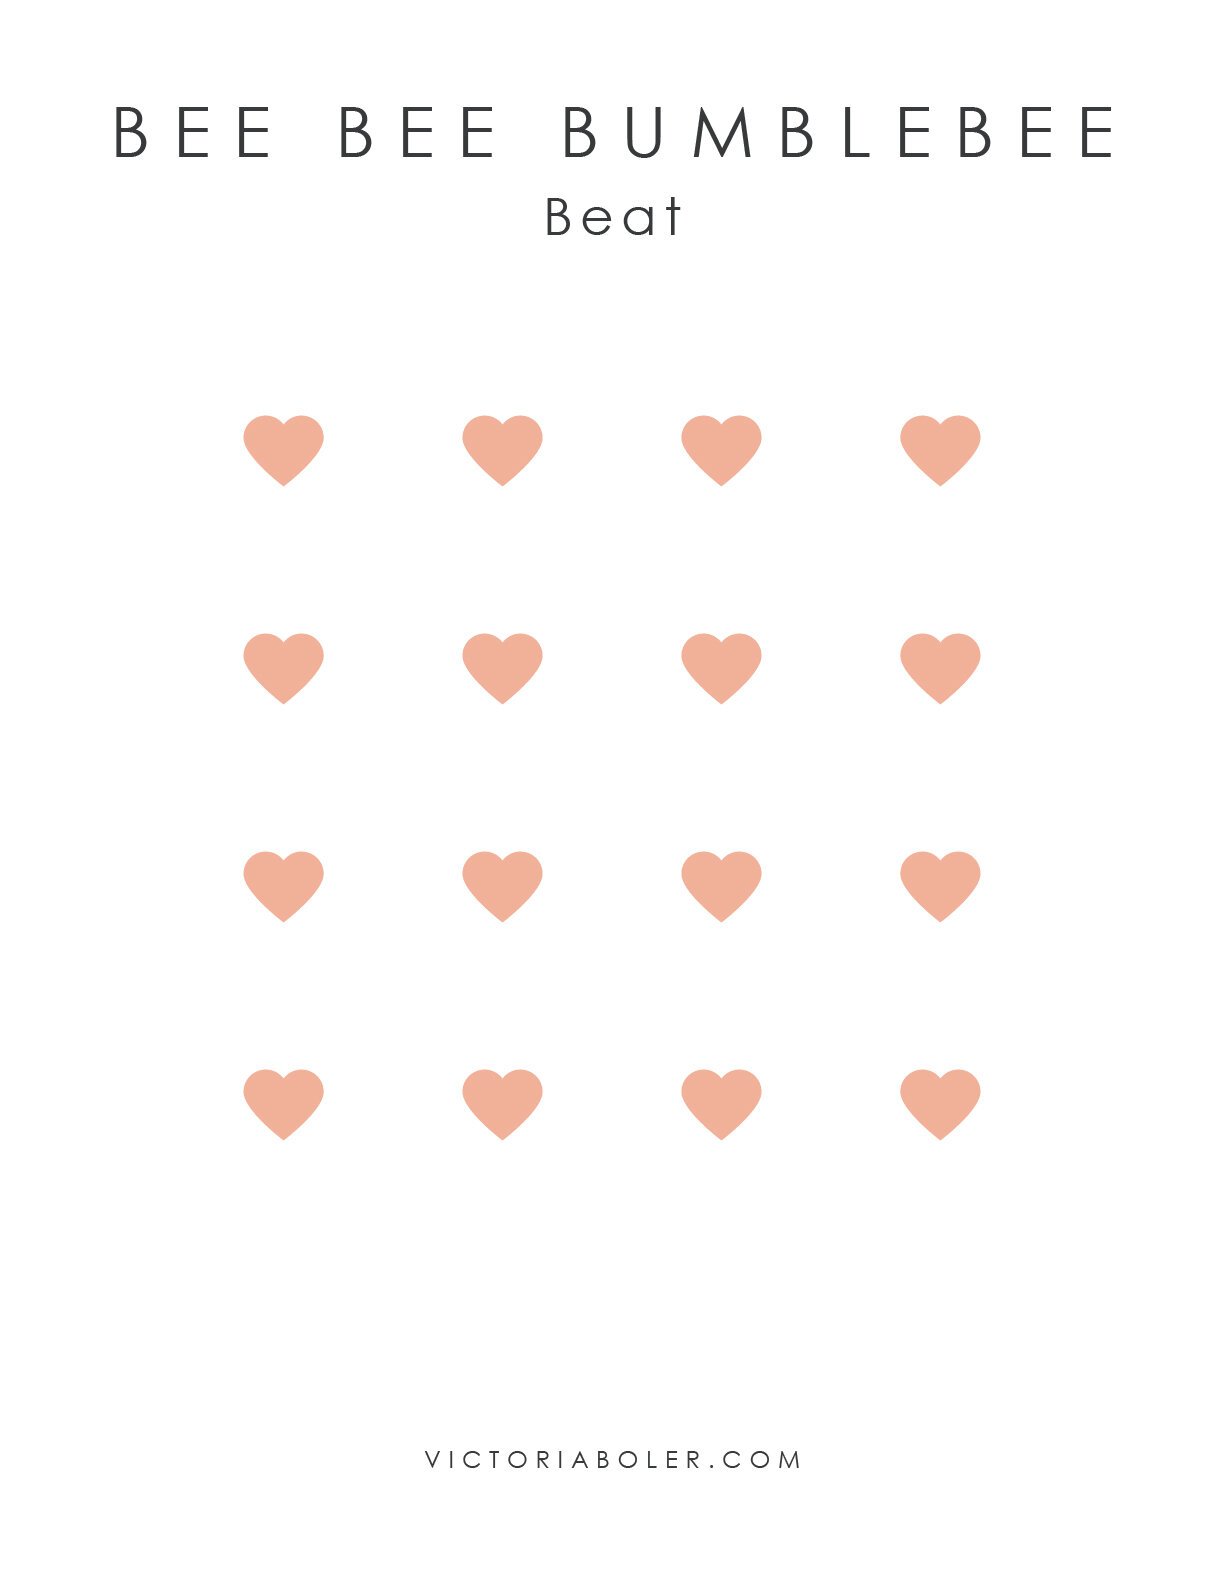
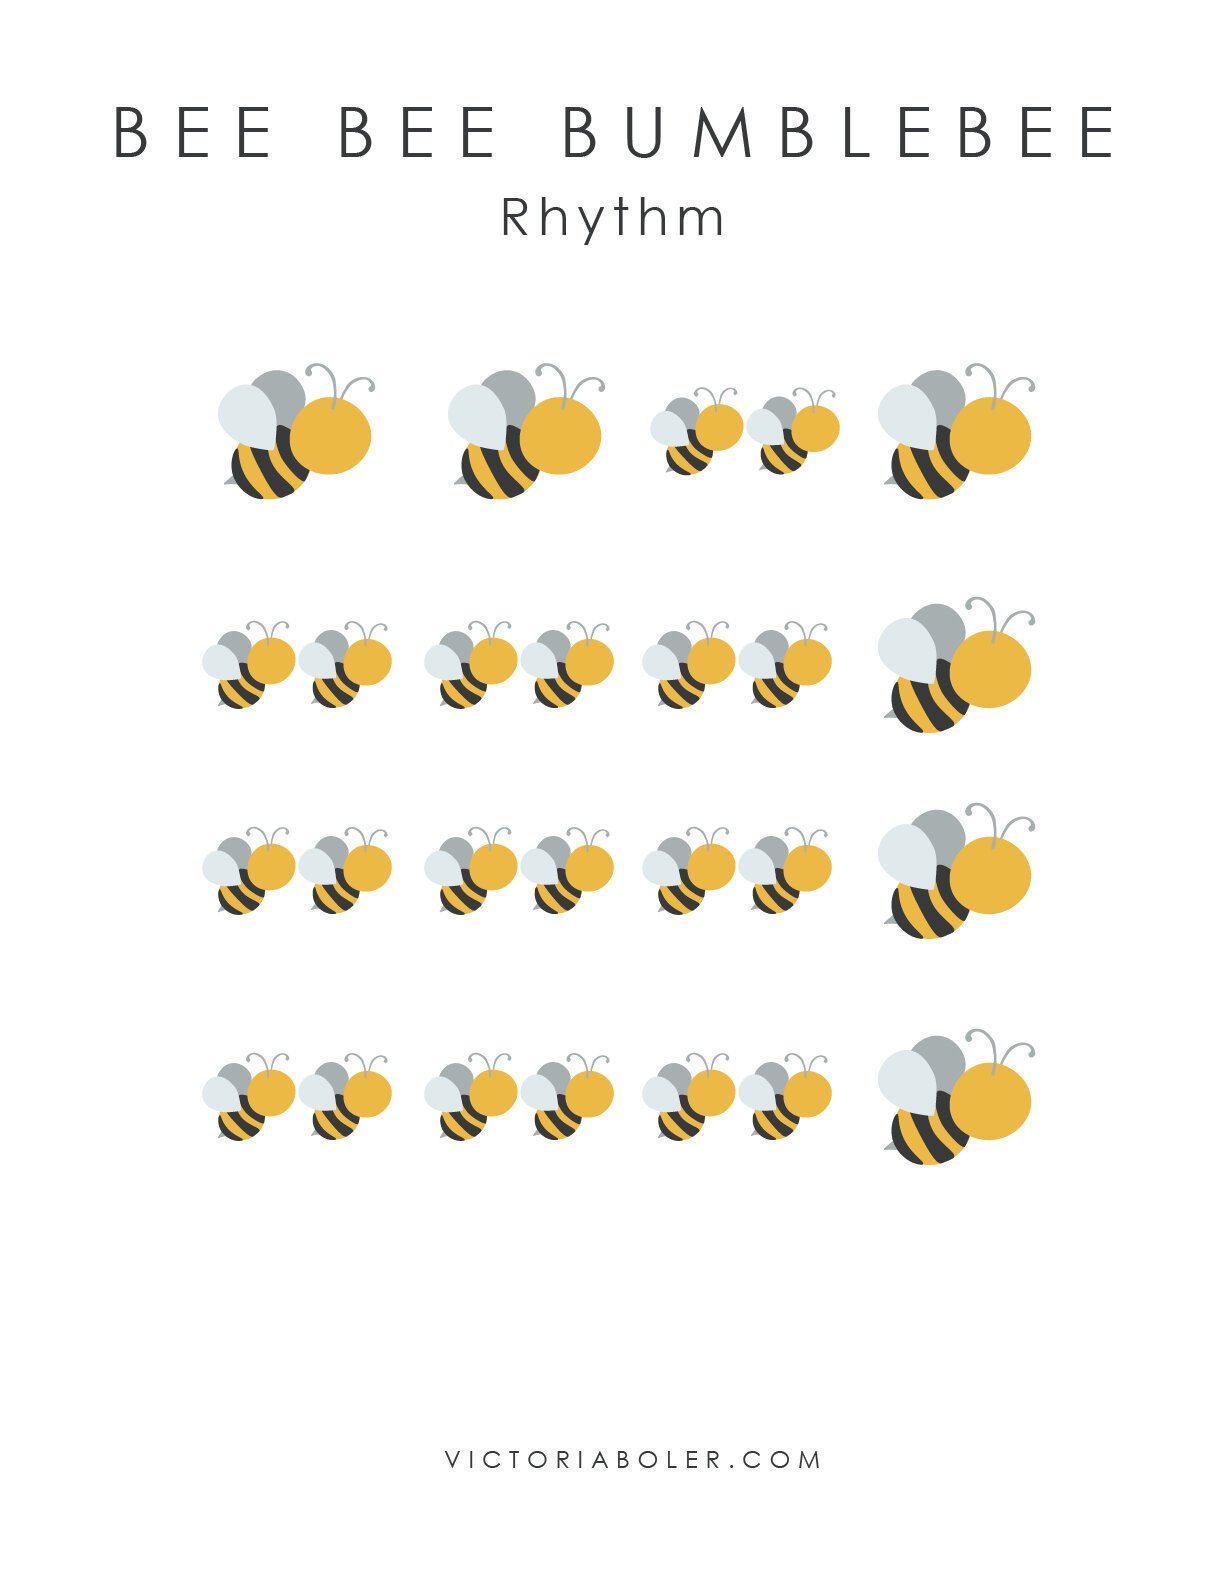

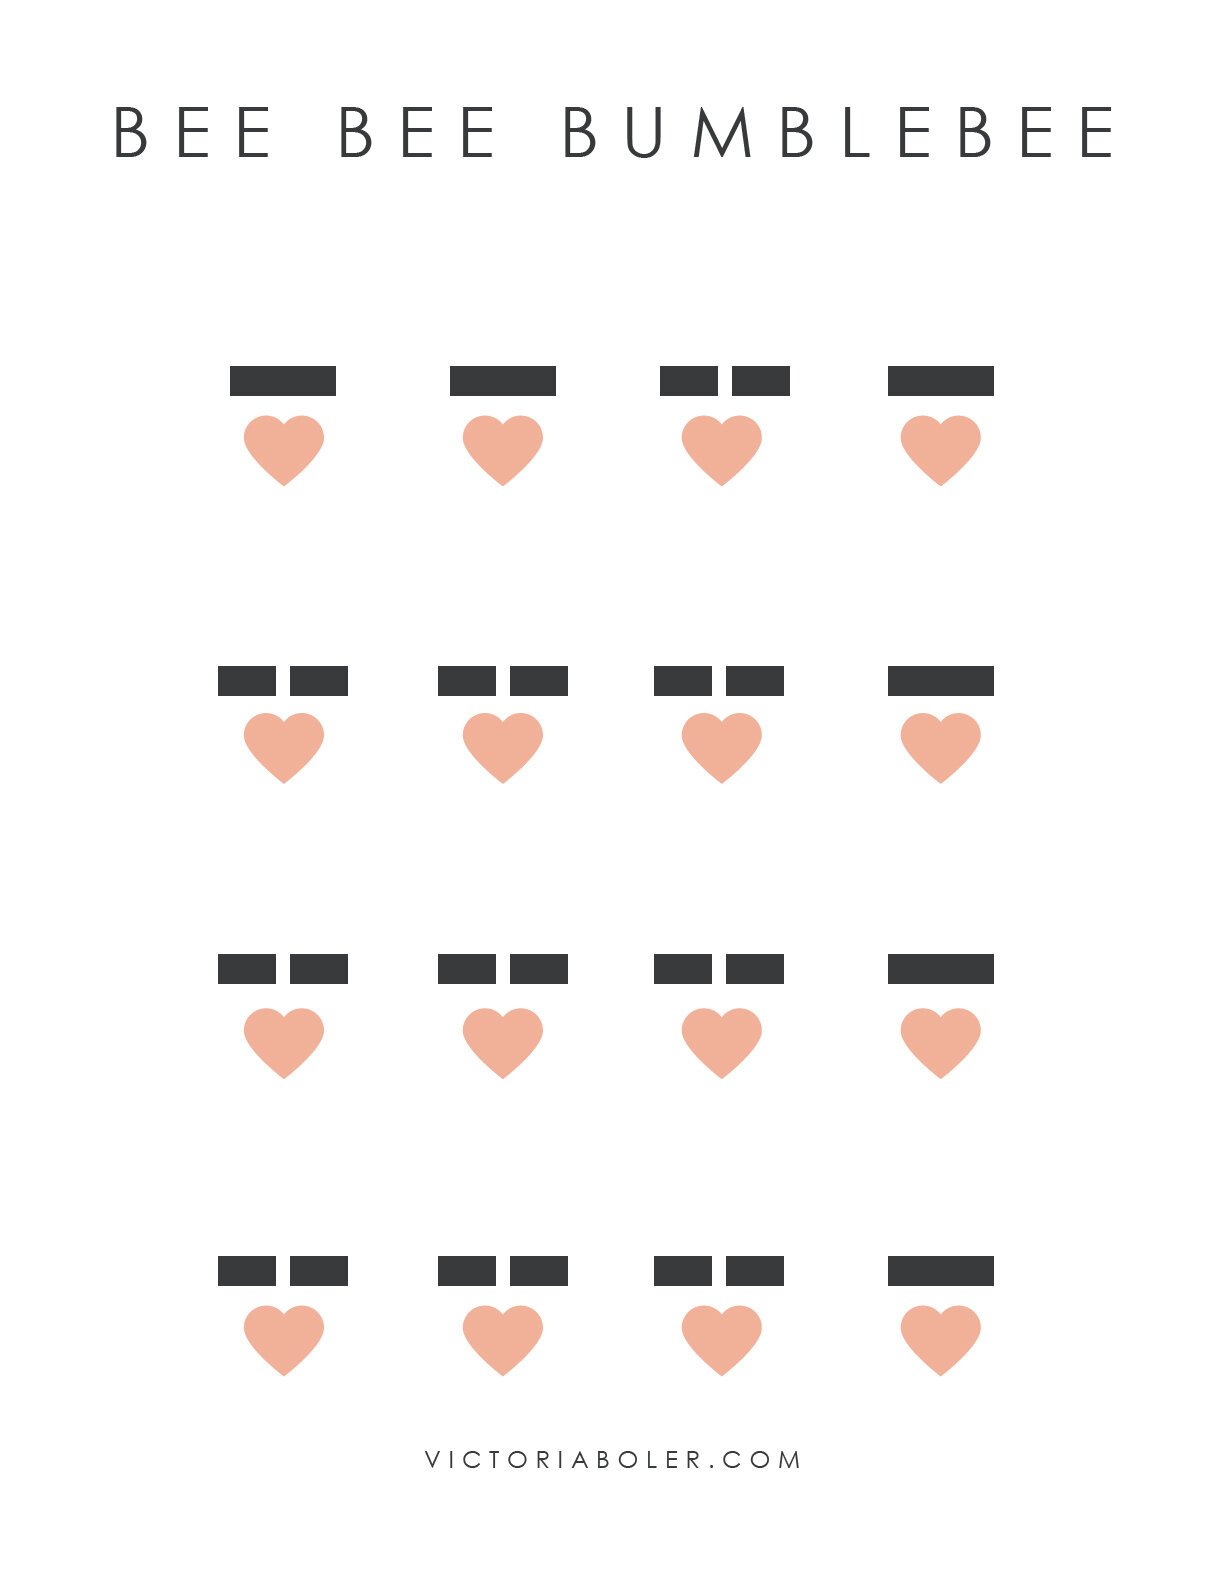
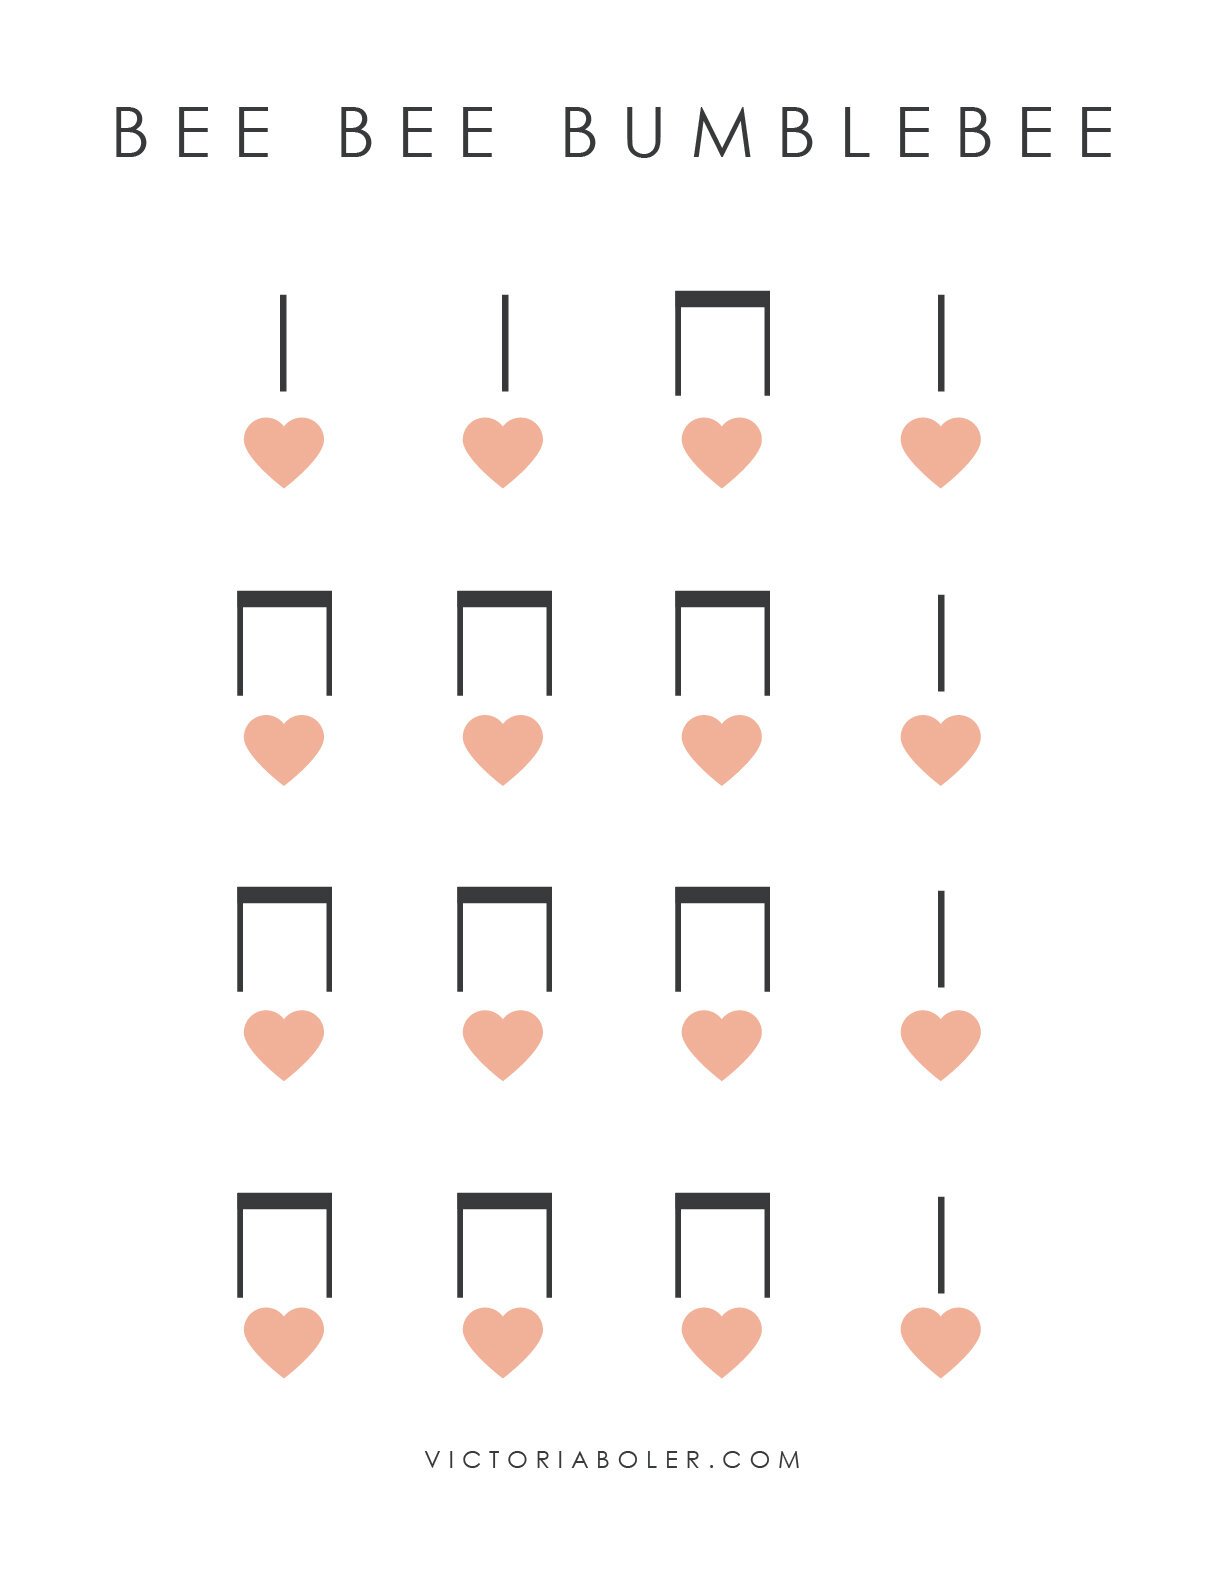
This set of printables is great for providing a visual aid when students are working on rhythm vs beat!
They’re available in both color, and in black and white. You can use the images to show on the board in your classroom, or print out the worksheets so students can use them individually.
Just fill out the form below to get these as a free PDF download!
This is part of a full set of rhythm vs beat printables available for purchase here.